Installation
Install and activate the Barbican plugin, and understand the one-time Freemius opt-in screen.
This guide walks you through installing Barbican, activating it, and the one-time opt-in screen you’ll see the first time it runs.
Install Barbican
Section titled “Install Barbican”There are two ways to install the plugin. Installing from the WordPress plugin directory is the recommended path for most sites.
- In your WordPress admin, go to Plugins → Add New.
- In the search box, type Barbican.
- On the Barbican card, click Install Now.
- When installation finishes, click Activate.
- Download the latest Barbican ZIP from the WordPress.org plugin page.
- In your WordPress admin, go to Plugins → Add New → Upload Plugin.
- Click Choose File, select the ZIP, then click Install Now.
- When installation finishes, click Activate Plugin.
The opt-in screen
Section titled “The opt-in screen”The moment you activate Barbican, you’ll see a one-time screen like this:
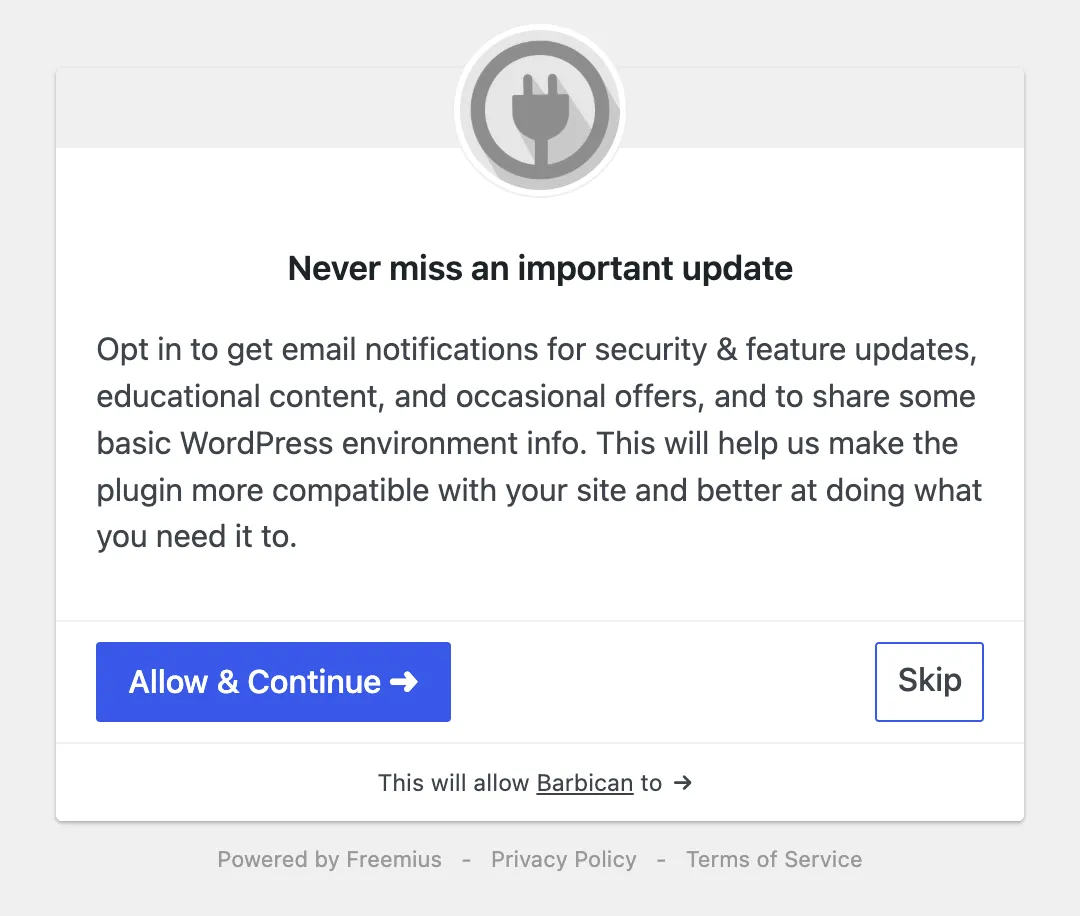
Barbican uses Freemius, a licensing and update service, to deliver plugin updates and to power the optional MLS Import add-on. This screen is where you decide whether to opt in to Freemius — and it appears only once.
Barbican is fully functional either way. Nothing on this screen is required to use the plugin.
- Allow & Continue — Shares your administrator email address and basic information about your WordPress environment, such as your WordPress and PHP versions and active theme. Opting in helps us understand how Barbican is used, improve your experience, and deliver smarter updates — so you can focus on building great real estate websites. We never collect your site’s content or your visitors’ data.
- Skip — Continue without sharing anything. You’ll still receive plugin updates and can use every feature.
For full details on what Freemius collects, see the Privacy Policy and Terms of Service links at the bottom of the opt-in screen.
What’s next
Section titled “What’s next”The first time Barbican runs, it walks you through a one-time setup before you can use the plugin. Continue to First-time setup.
Want to know what Barbican stores and what happens if you ever remove it? See Your data & uninstalling.